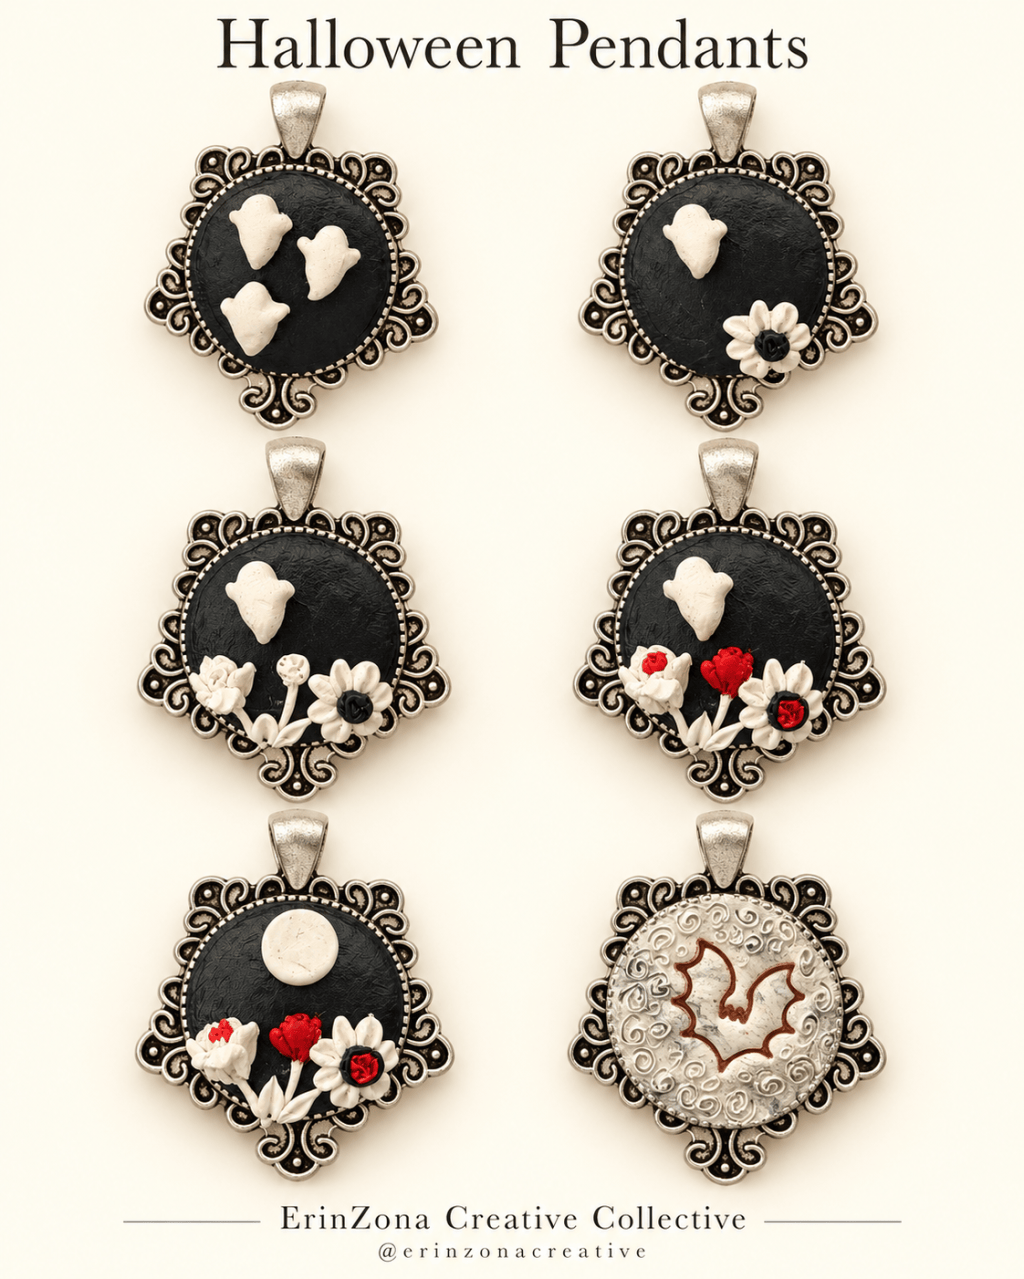
Tiny ghosts, creamy flowers, red accents, and antique silver settings: these handmade Halloween pendants show how a simple black base can become a miniature scene. The collage includes both developing designs and finished variations.
Supplies
Polymer clay in black, cream, and red; pendant blanks; roller; needle or sculpting tool; baking tile; optional chain and jewelry adhesive compatible with clay and metal.
Step by step
- Choose a design and condition your clay until smooth. Use an oven-safe setting if baking the whole pendant.
- Press a thin black clay layer into the setting. For a non-oven-safe blank, shape a separate insert to fit.
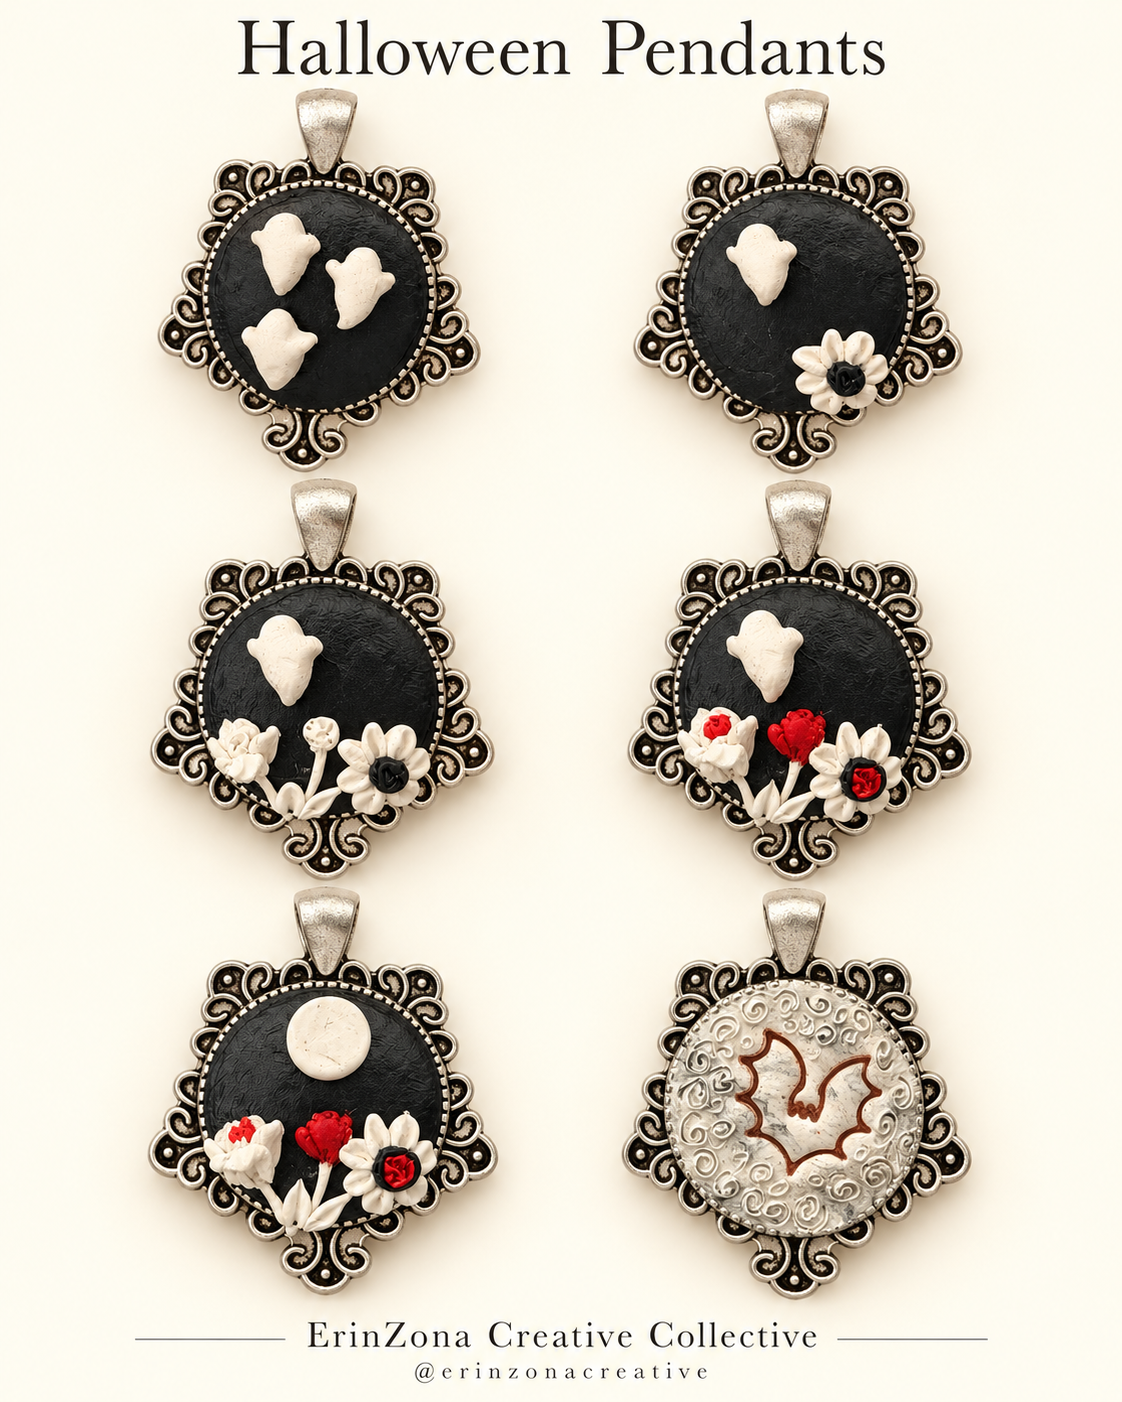
- Shape a tiny cream teardrop into a ghost with small side arms, or flatten a cream ball into a moon.
- Flatten tiny clay balls into flower petals. Layer them around a small center and add thin stems and leaves.
- Add small red centers or buds. Press joins gently so the pieces connect securely.
- Bake according to your clay package, then cool fully. For a non-oven-safe blank, bake the insert separately and attach it after cooling; let the adhesive cure fully.
The bat design is another decorating option: impress a bat outline into a pale clay base and add surface color after baking. Check the blank’s heat rating before baking. Which would you make: ghosts, moon, or bat?


Leave a Reply