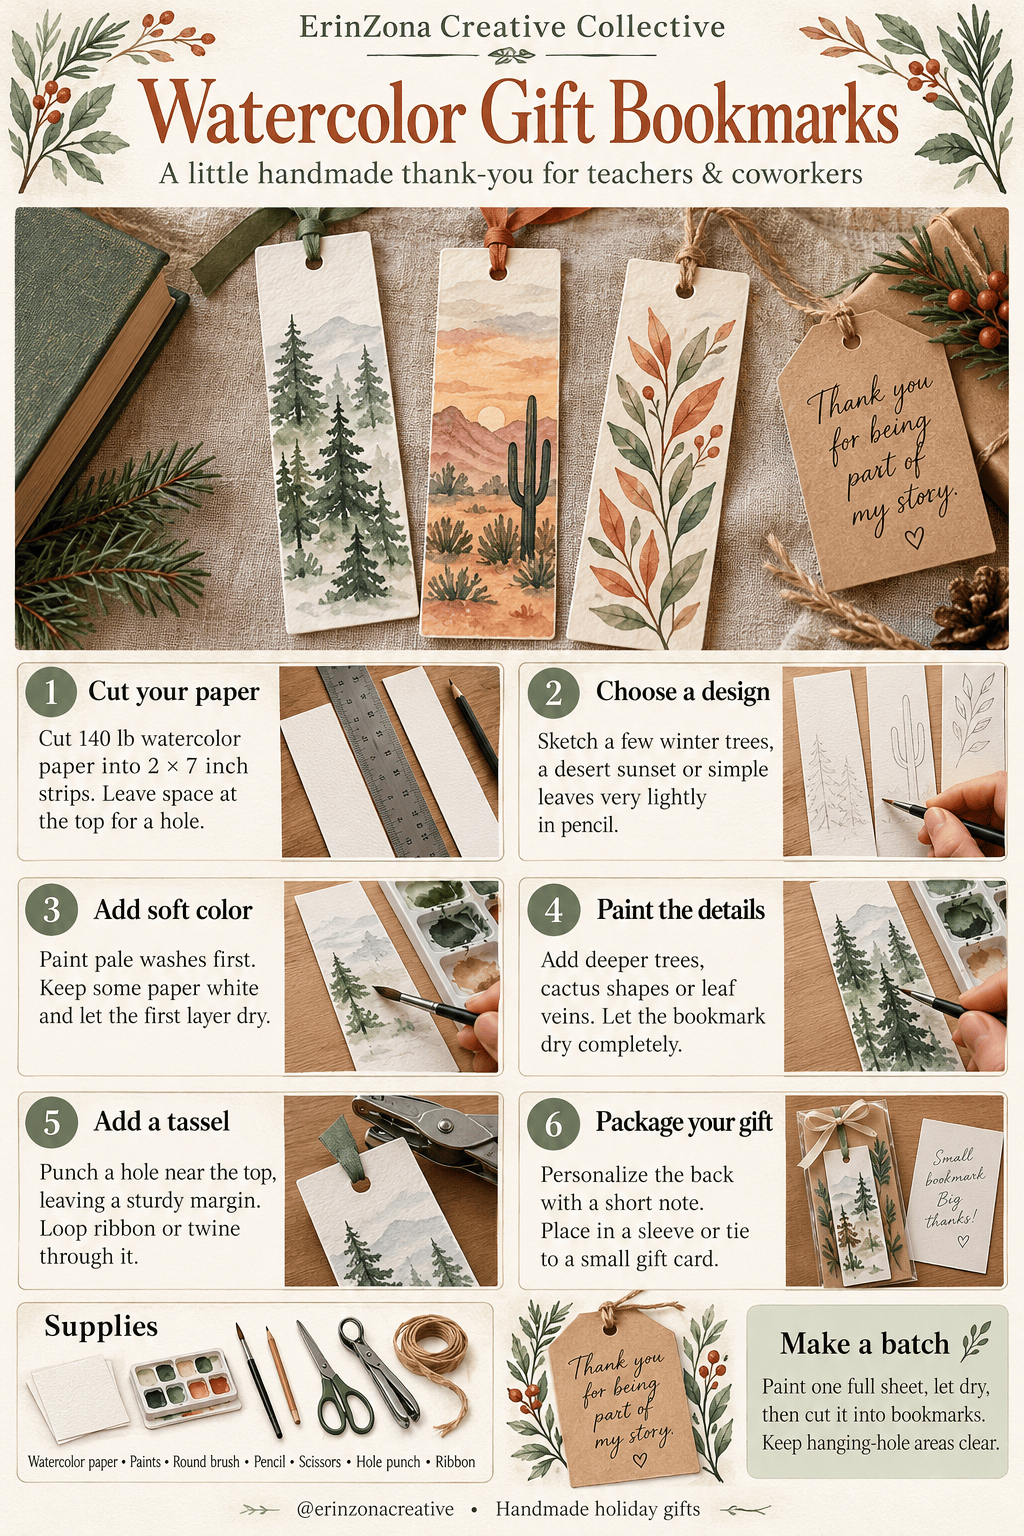
A gift made by little hands carries its own kind of magic. These four projects let children add their drawings, words and favorite colors to something a teacher or grandparent can treasure.
Plan ahead: Start several weeks before your school’s winter break. Check the last day for delivering teacher gifts, then leave time for drying, finishing and wrapping. Clay keepsakes need the longest lead time.
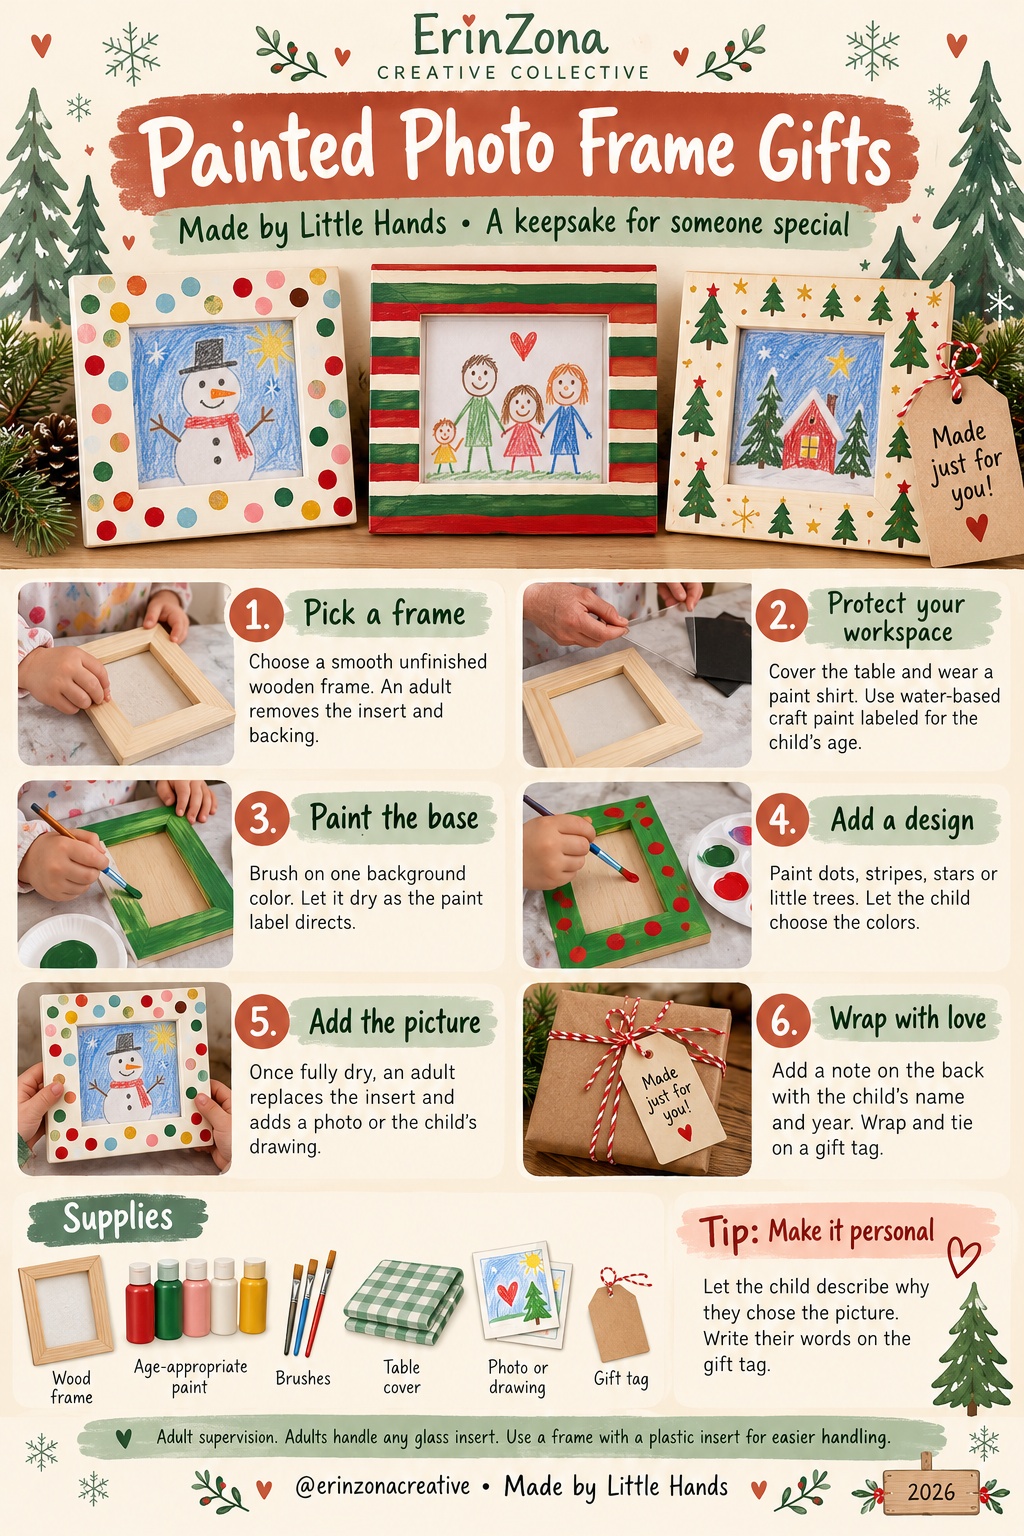
1. Painted photo frame gifts
Allow: About 30–45 minutes, plus paint drying. Supplies: A plain wooden frame, age-appropriate paint, brushes, a drawing or photo and a gift tag.
An adult removes the frame insert. Protect the table and paint a base color. Once dry, let your child add dots, stripes, flowers or tiny trees. Dry completely, then have an adult replace the insert and add a drawing or photo. Write your child’s name and year on the back, and wrap with a note: “You make my world brighter!” Choose a plastic insert if possible; adults handle glass.
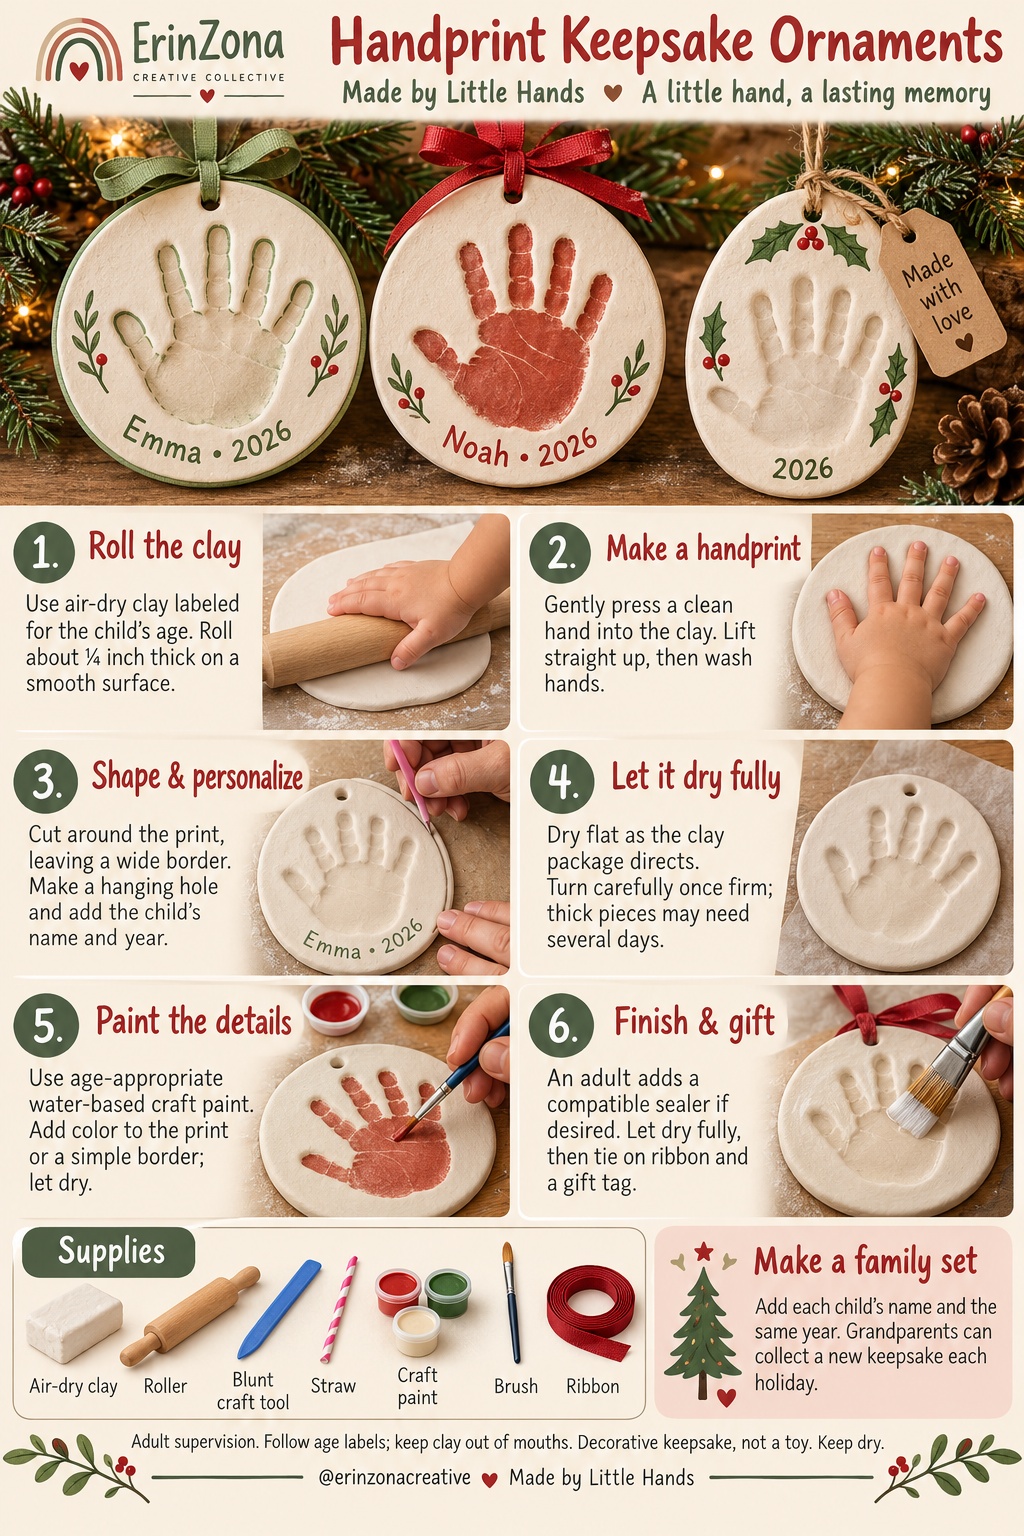
2. Handprint keepsake ornaments
Allow: About 20–30 minutes to shape, a separate painting session, and the full drying time specified by your clay maker. Supplies: Air-dry clay, a roller, an adult-use cutting tool, a straw, age-appropriate paint and ribbon.
Roll clay about ¼ inch thick, following its package directions. Gently press a clean hand into the clay and wash hands afterward. An adult cuts a border around the print. Add a hanging hole, your child’s name and the year while soft. Dry flat according to the package, turning only once firm enough to handle. Paint after fully dry. An adult can apply a compatible sealer if desired, then add ribbon. Air-dry clay does not need baking. Decorative keepsake; keep dry.
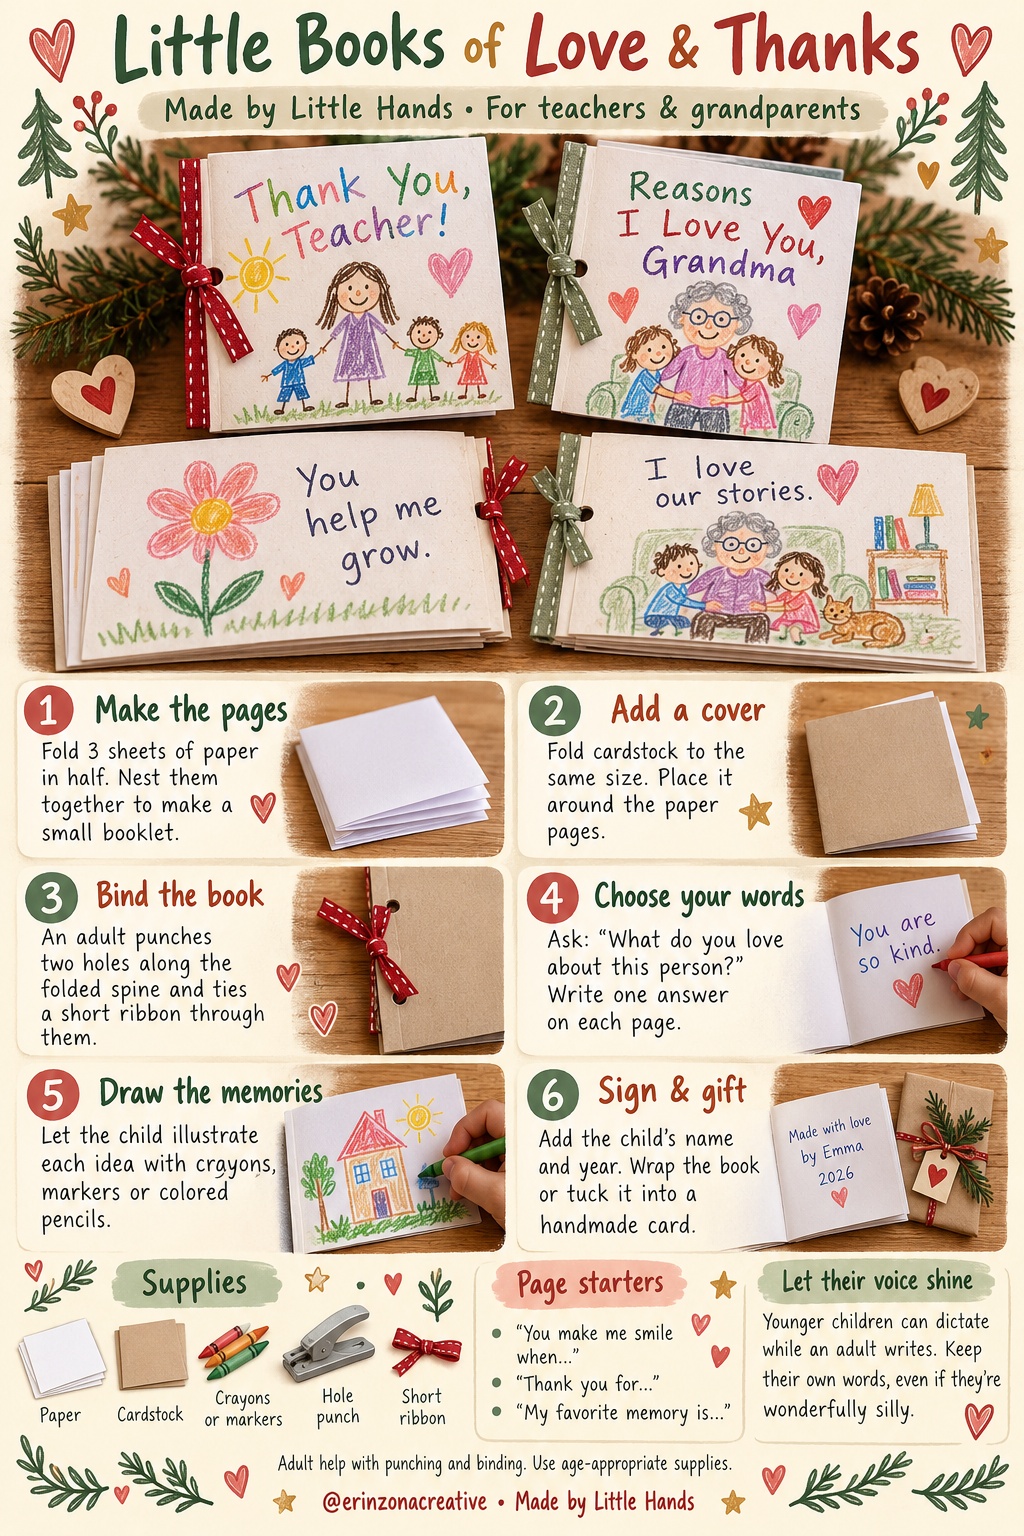
3. Little books of love & thanks
Allow: About 30–45 minutes, or make a page a day. Supplies: Three sheets of paper, cardstock for a cover, crayons or markers, a hole punch and a short ribbon.
Fold the paper and cover in half. An adult punches two holes near the fold and ties a short ribbon through them. Let children draw favorite memories and finish prompts such as “Thank you for helping me…” or “One thing I love about you is…” Use their own words. Add their name and the year, then wrap for a teacher or grandparent.
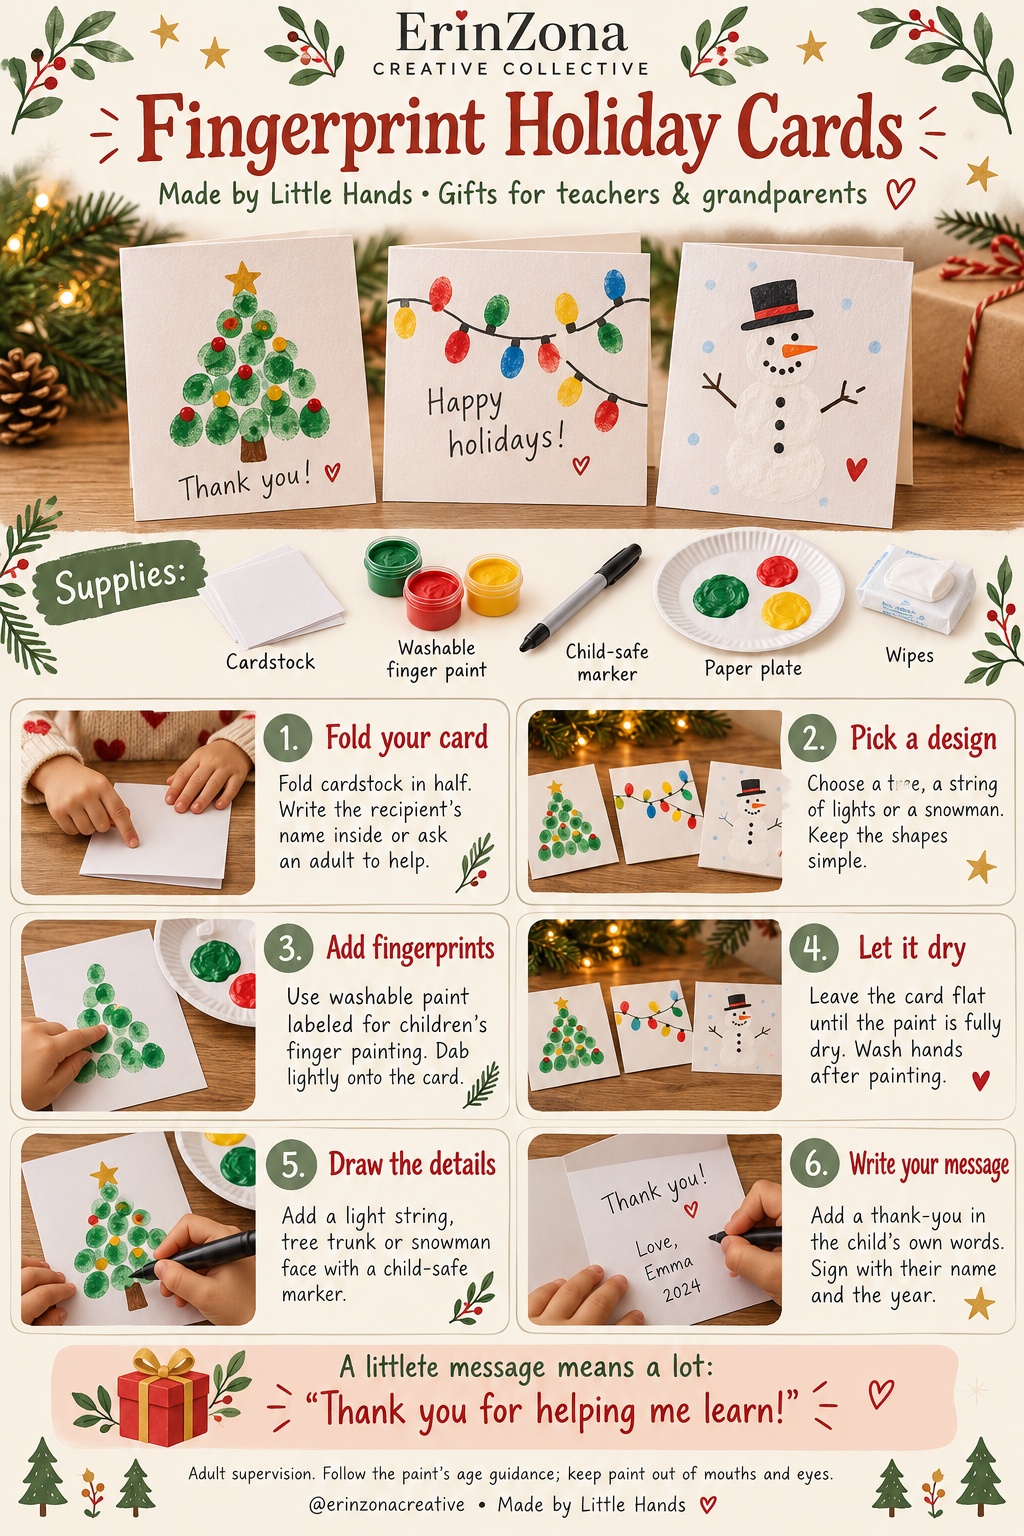
4. Fingerprint holiday cards
Allow: About 20–30 minutes, plus paint drying. Supplies: Folded cardstock, washable paint labeled for children’s finger painting, markers and a protected surface.
Choose a tree, a string of lights or a snowman. Help children make fingerprint shapes with small amounts of paint. Wash hands and let the card dry before adding marker details. Invite children to write or dictate a personal message. Finish with their name and the year.
A simple make-ahead plan
Choose projects and recipients first. Make clay ornaments early, then paint frames and assemble little books. Finish with cards and wrapping. Keep a label with each gift so you remember who it is for. Adults supervise and handle cutting, hole punching, frame inserts and sealers.
Which would your little artist choose first: a colorful frame, a tiny book, a handprint ornament or a fingerprint card?


Leave a Reply